How to install a residential ventilation system

- Home
- Insights
- Ventilation insights
- How to install a residential ventilation system
Step 1 – placing the valves
In terms of ventilation installation related to placing the valves, the main principle is to place them away from the areas where residents spend most of their time in order to minimise draught.
Supply air valves in living spaces should be placed far back in the room, close to the windows and ideally over a radiator. If they are placed over the sofa or over beds in bedrooms, for example, they can cause draught. In new houses, supply air valves are often placed over the front door, well away from any furniture.
Exhaust valves should be placed directly over the humidity and heat source, for example over the shower, washing machine or dishwasher and as high as possible on sloped ceilings.
Air velocity
Not everyone is equally sensitive to draught, but if you want to avoid it, it is important to consider carefully where to place the valves. 0.15 m/sec. is considered to be the upper acceptable limit for air velocity around a sedentary activity. For people in movement, air velocities up to 0.4 m/sec. can be accepted.
Get our full 32-page guide
for selection and installation of residential ventilation right here:
Selection Guide for residential ventilation
Step 2 – the ventilation system, silencers and main ducts
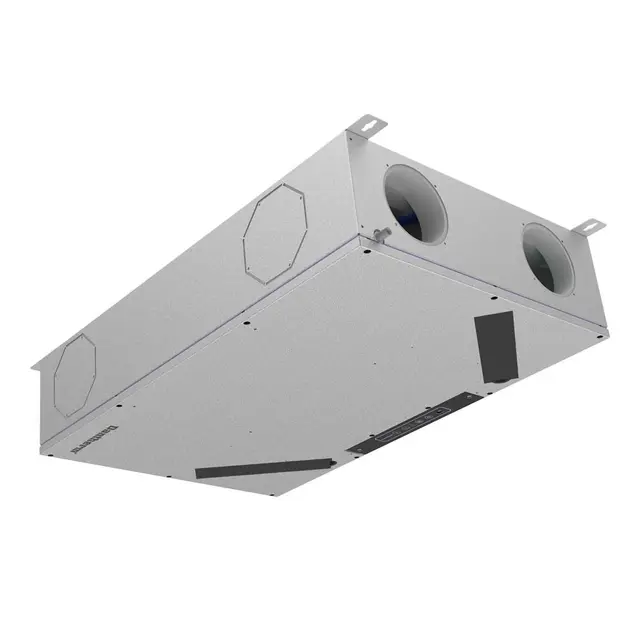
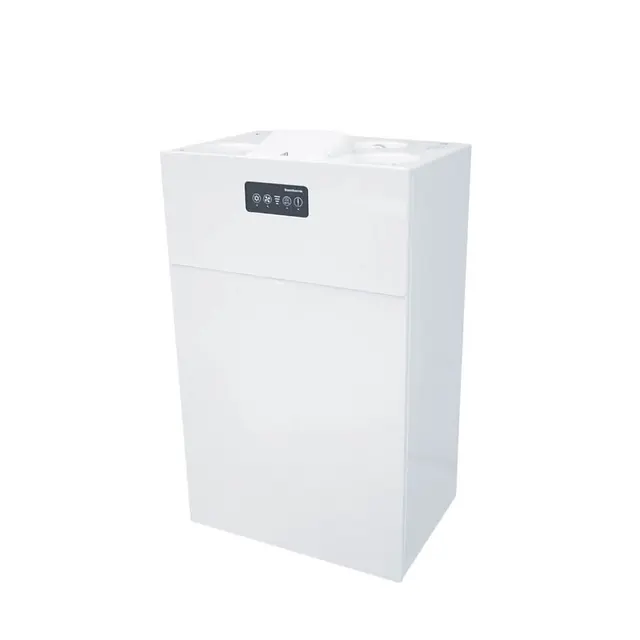
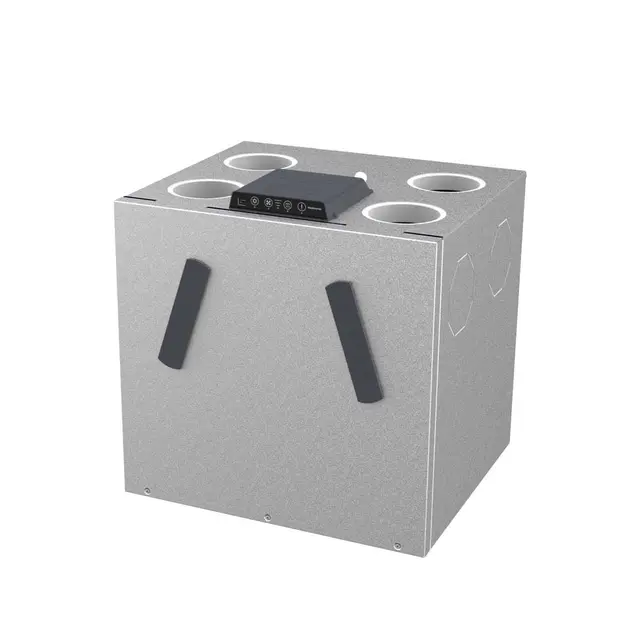
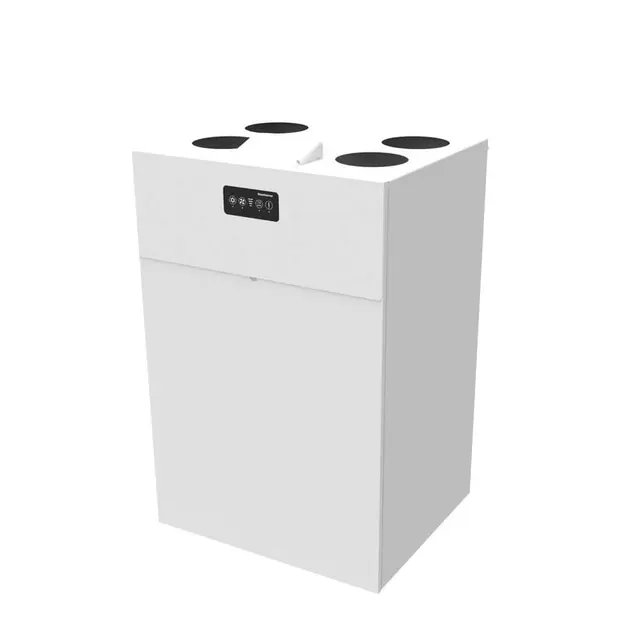
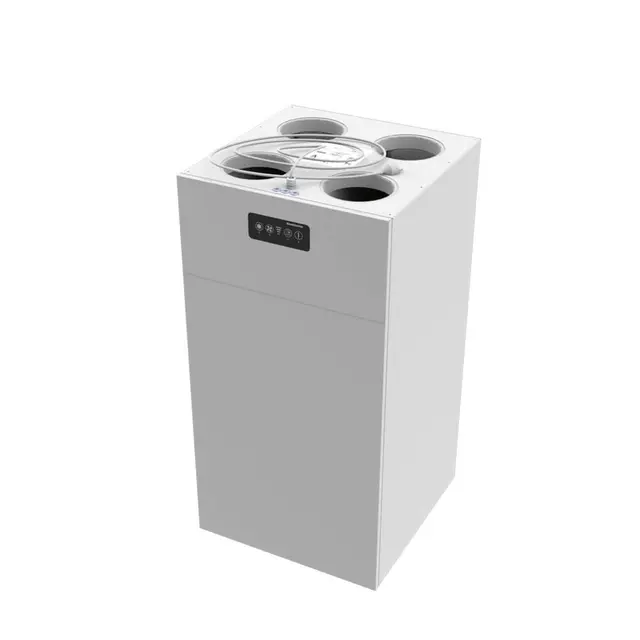
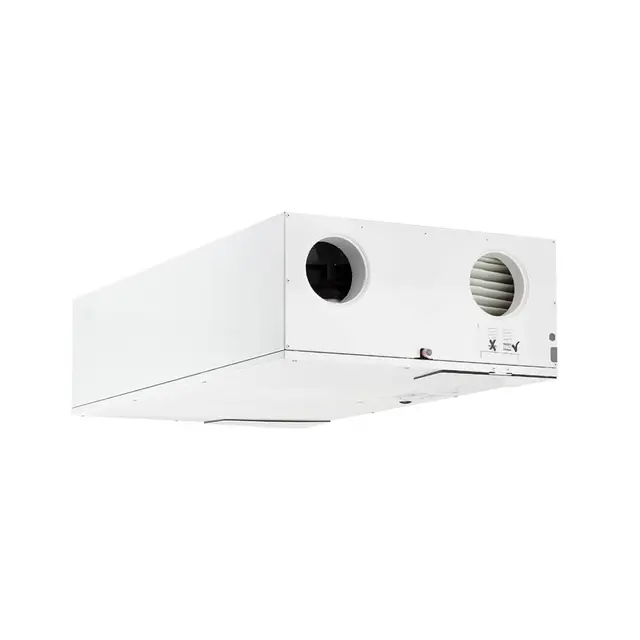
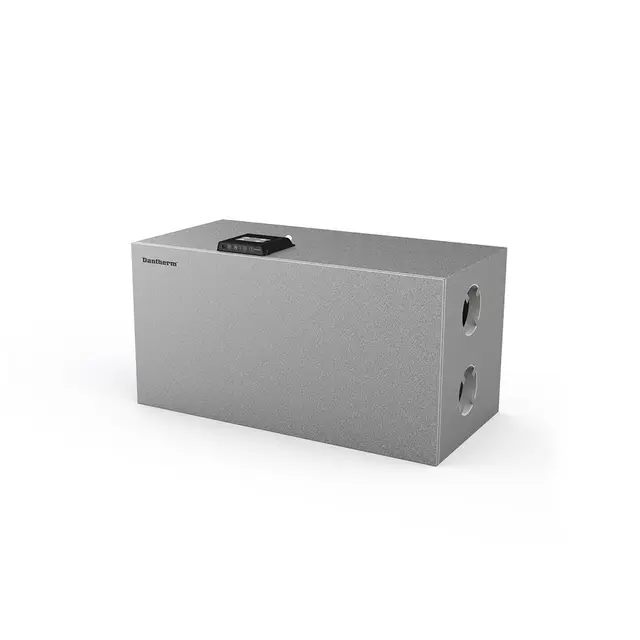
The residential ventilation unit itself should be placed in the centre of the area it is to serve. Do not place the unit directly over a living space to avoid noise disturbance, and make room around it to connect ducts, electricity and condensate outlet. A front or back entrance will often be a good choice, if the unit cannot be placed in the loft.
If the ventilation unit is placed in the loft, it should be placed on a firm surface inclined towards the condensate outlet and strong enough to support the weight of both the unit and 1-2 people. The surface must also be vibration-free, for example by building a 'sandwich' construction on which the unit can be placed.
Ventilation ducts
The plan should also show how the valves are connected to the ventilation unit via main ducts and branch ducts.
The duct system should be as simple and symmetrical as possible, as this makes balancing the system easier. On the main duct, there must be a minimum of 1 metre between the branch ducts. The valves are to be placed at least 1 metre from the main duct.
Noise
A silencer can be mounted on the ventilation unit, and Dantherm also recommends that silencers are mounted before the supply and exhaust air valves to avoid the transfer of sound between rooms via the ventilation ducts.
For particularly sound-sensitive installations, a low-sound model or silencer box may be an option.
Step 3 – air intake and exhaust
The final step in the installation is to establish intake and exhaust for the ventilation ducts in the building facade and on the roof.
Fresh air intake
For the vent set up, fresh outdoor air is brought into the home through a roof cap vent or a gable vent. It is a good idea to place them facing either north or east. If they are placed facing south or west, the air may become too hot during the summer. Be aware of the pressure loss in the solution you choose and, ideally, always choose one that is slightly larger than the main duct.
Discharge of exhaust air
Discharging of exhaust air is done via a roof cap vent or gable vent. The dimensions of the roof cap vent must be at least as large as the air intake and exhaust air ducts. The roof cap vents should be placed with a minimum of 3 metres between the intake of fresh air and discharge of exhaust air.
Avoid fly screens
Many gable vents come with a standard-mounted fly screen/leaf guard. This adds a risk of the vent grille or grid becoming filled with flies and leaves, thereby preventing an optimal intake of air. Instead, let the filter in the ventilation unit, which we recommend be replaced every six months, catch flies and similar.
For more information,
please download Dantherm’s full
Selection Guide for residential ventilation
Related products
Featured insights

Automatically maintain your ideal living conditions

Choosing the right place is key to a successful ownership

Getting the right amount of fresh air using a minimum of energy is key in every Passive House
Need help with choosing the right solution? Our team of over 100 climate control experts can assist.
You can also reach out or join the discussion on our Social Media. Check out our LinkedIn page.
